How to Add Knockbot Events to GA4

Integrating third-party tools, such as chatbots, with your website analytics is vital for a more profound and accurate understanding of the renter journey.
Chatbots, in particular, serve as a rich source of data, capturing direct interactions and queries from customers. They reveal what potential renters are looking for, their concerns, and the issues they face while navigating through the property rental process. By tying this information with website analytics, businesses can have a holistic view of the customer’s experience, their needs, and pain points. This results in the ability to personalize marketing efforts, making them more relevant and effective, and thereby maximizing advertising ROI.
Moreover, the integrated insights obtained can be used to improve the overall user experience on the property website. It can help optimize the website layout, content, and navigation based on user interactions and feedback, making the website more user-friendly and efficient for the renters. This can result in improved engagement, reduced drop-off rates, and enhanced conversion, which can significantly impact business growth.
Since there hasn’t been a published update from Knock, here’s a tutorial on the quickest way to set up your website to receive the data you want into your own analytics:
How to track your Knockbot activity in GA4
First, make sure you have a GA4 property and GTM set up on your website.
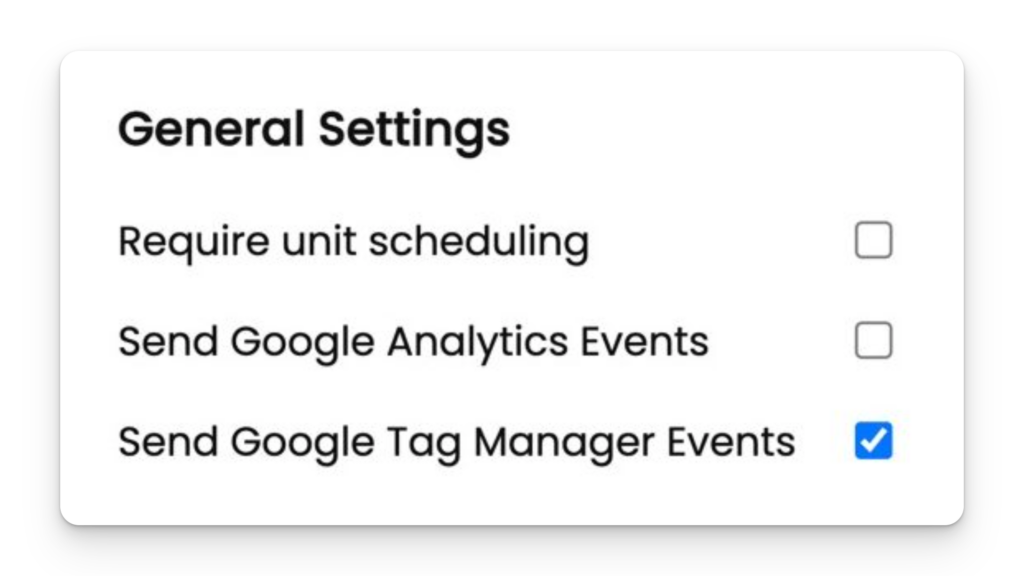
Make certain “Send Google Tag Manager Events” is checked in Knock Doorway Admin settings.
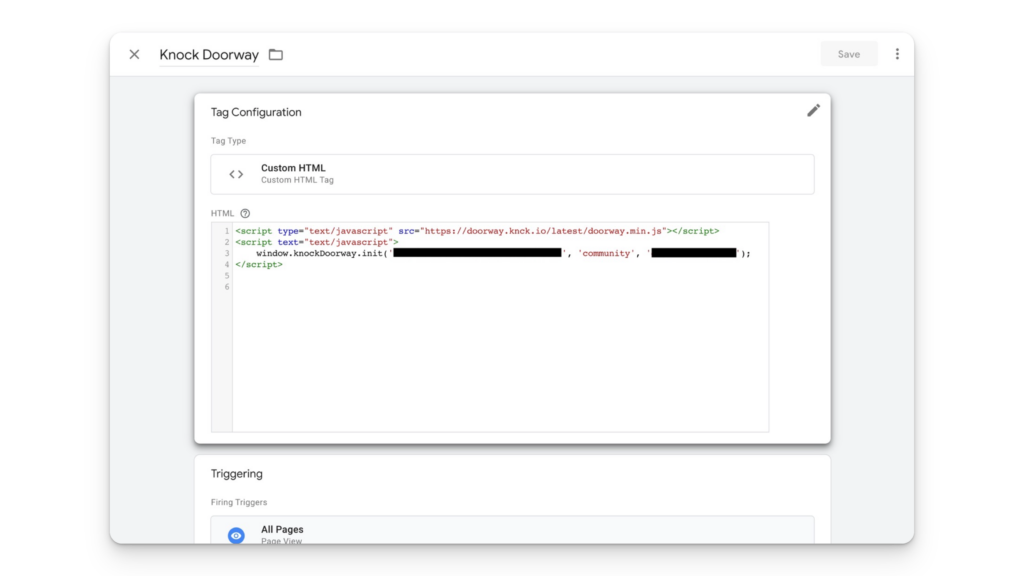
Add Knock Doorway code as a Custom HTML tag, if you haven’t already.
Click “new” under user-defined variables to add a category variable.
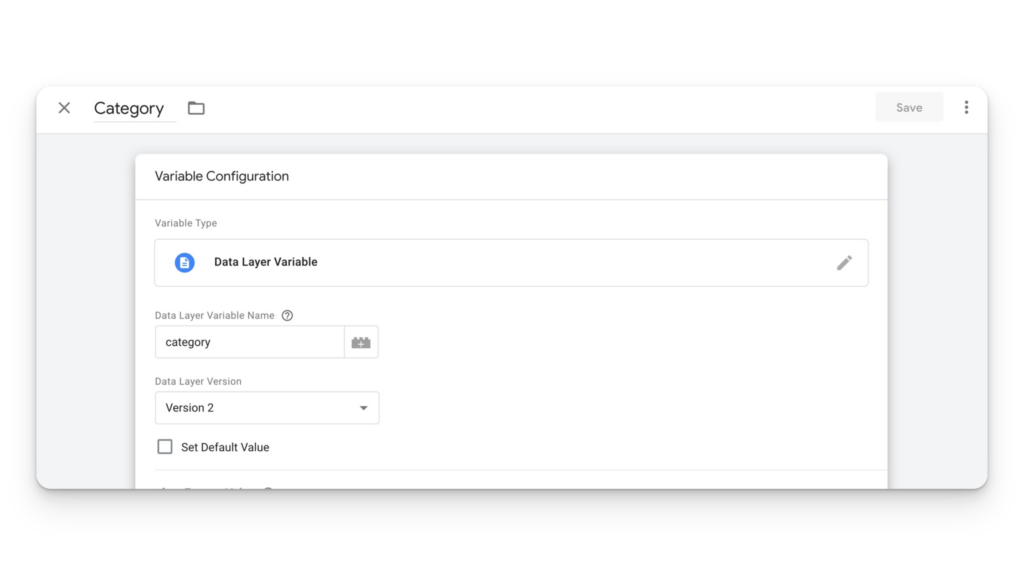
Click “new” under user-defined variables to add a category variable.
Add a new trigger. Call it “Knock Form Submit Event”. We are going to track just the different (non-resident) form submissions here, by adding the event names of each of the events that contains a label of “Form Submit”. Make sure to use regex matching on the event name.

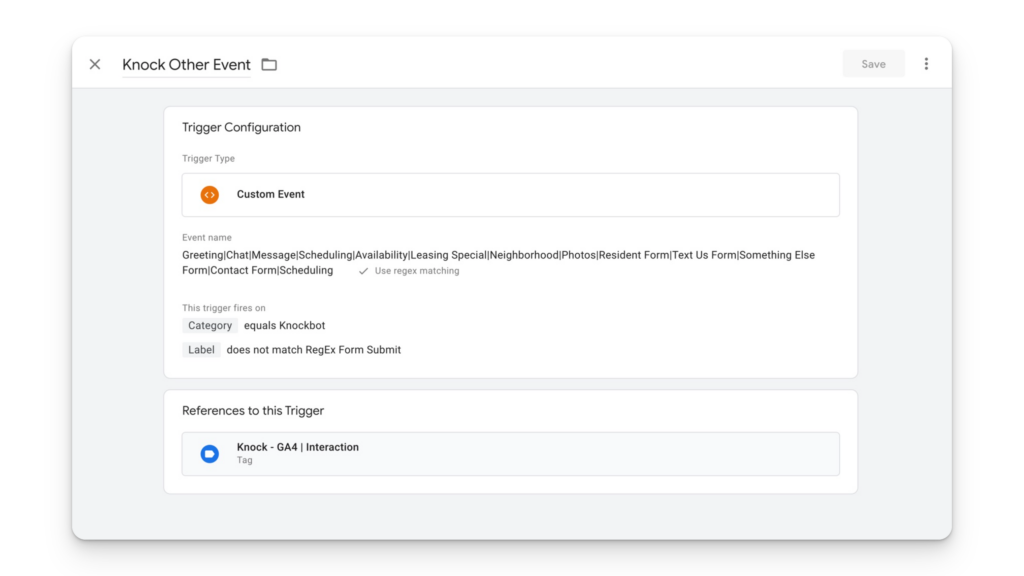
Now to trigger the remainder of the events, we are going to add all of the potential events names, and simply trigger every time the event category is Knockbot and the event label does not equal “Form Submit”. This will capture every other event that Knock tracks.
📋 Want to know what each of the Knock events means? Check out their full table here.
The next step is to send these events to GA4 whenever they are triggered. So we setup two new tags, one for each event and give them each a custom name that meets the snake case requirements of GA4 (i.e. snake_case, or knock_form_submit) and map them to the appropriate GA4 configuration tag (measurement ID). I called these events knock_form_submit and knock_interaction.

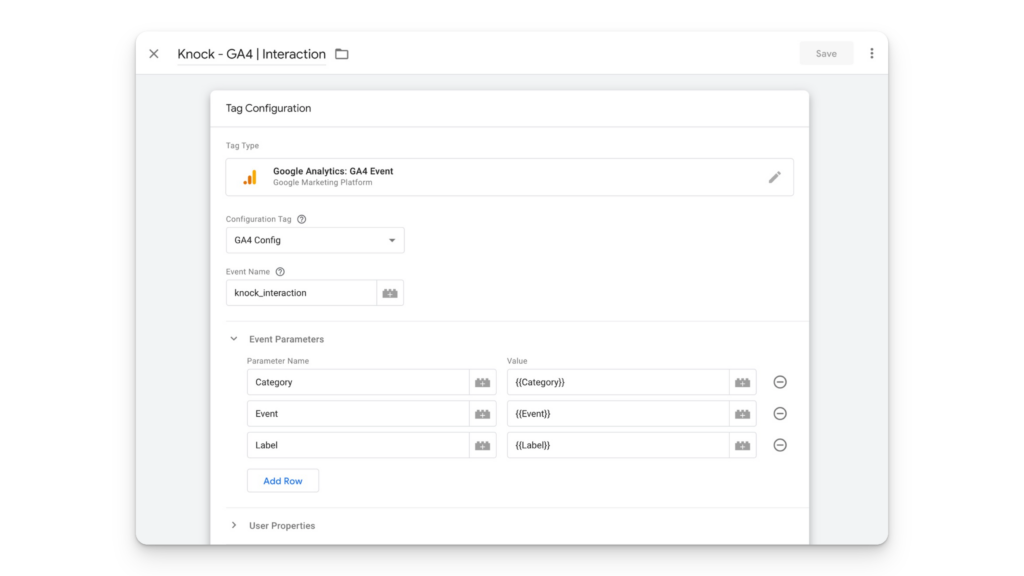
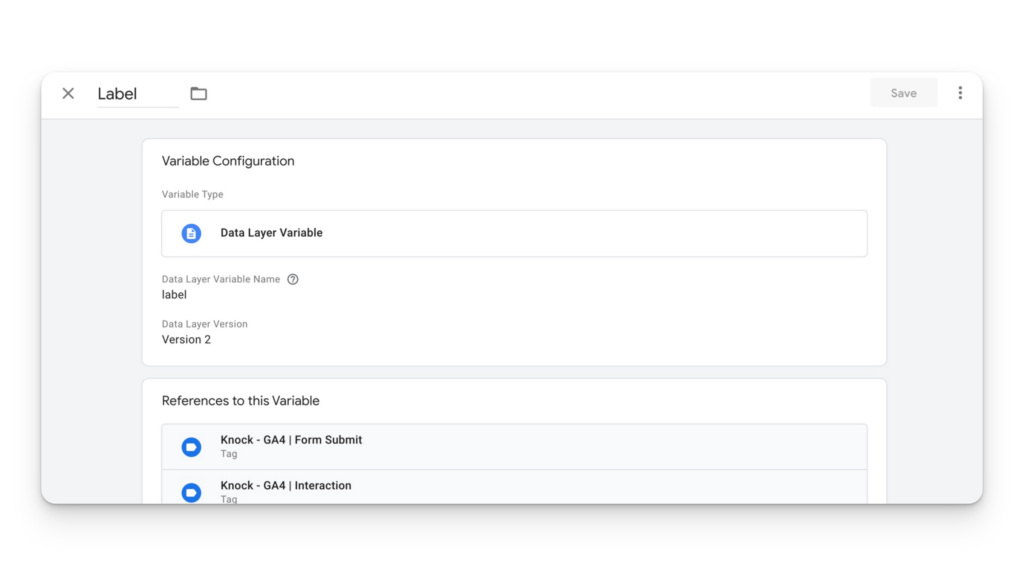
Add the category, event and label of the event to the parameters, so they are passed into GA4 (this is necessary to differentiate the different events provided by Knock).
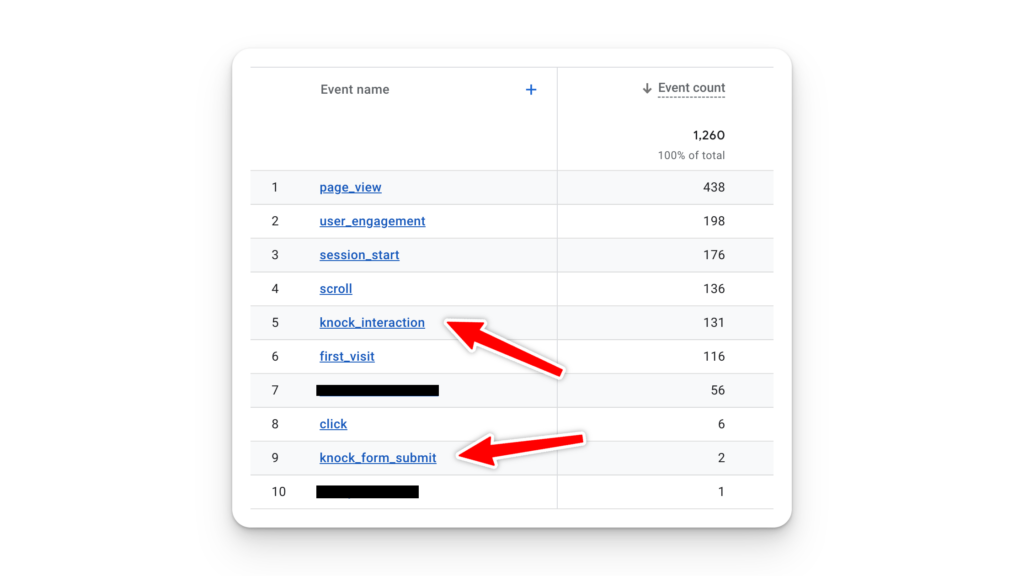
Now, save and publish these changes. Then go test it out. You should see results start showing in the real time view of GA4.
Last step, is to select your newly created knock_form_submit event as a conversion!
For more detailed events, simply adjust your event triggers to accommodate for the proper Regular Expressions. For example, if you wanted to isolate every time the Schedule A Tour form is pulled up vs how many times it is displayed, you would want to isolate the “Scheduling” Action and create triggers for all scheduling actions except “Form Submit” and then a separate for Form Submit.
If Knock were to update their event titles to use snake case. Then this would help you skip some of these steps.
💡 If you struggle with seeing results in GA4 right away, you can enable debug_mode and view real-time events in the debug viewer.
Lastly, the custom parameters we mapped above (the category, event name and label from the Knock table) are all sent and can be viewed in some of the dashboards in GA4. However, they will not be available in reports and explore as a dimension by default. To enable these parameters within GA4 reports, you will need to create custom dimensions and you can learn all about custom dimensions here.
Enjoy your new data!

